

Just as Google is the go-to search engine for most people, Microsoft Office is the go-to programme for creating documents of any sort. Most job applications will also require a basic understanding of Microsoft Office in order to be considered for the role. If your knowledge of Microsoft Office is rather limited, take a look at this quick guide from Mr Lender to learn the basics of Word, PowerPoint and Excel.

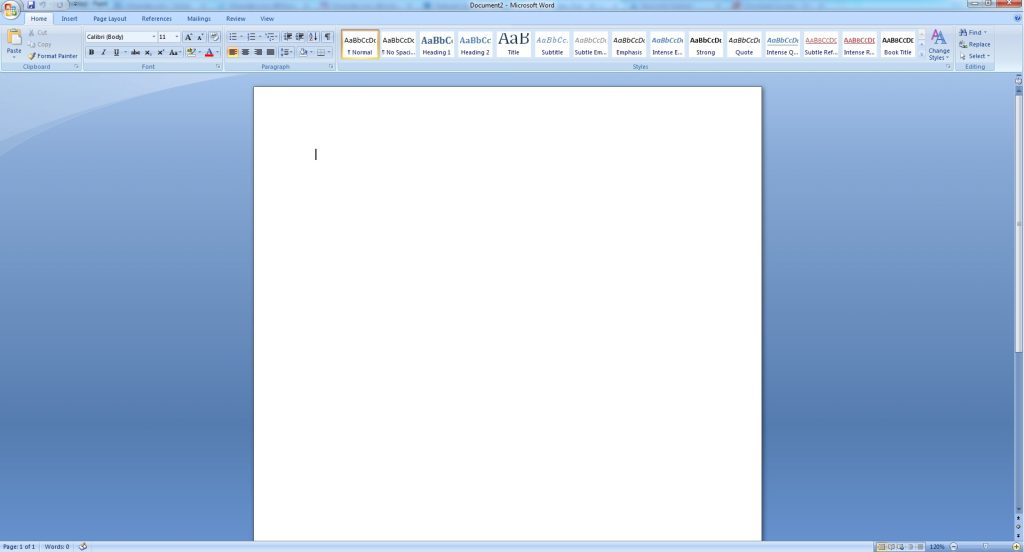
Microsoft Office Word
Microsoft Word is a piece of software designed to let you create a number of text based documents such as leaflets, flyers, letters, essays and plenty more.
Getting started
Getting started on any Microsoft Office software is often very simple and hassle free. Once you open the programme, you’ll be shown a page which gives you the option of opening a range of different templates. If you just want a blank sheet to work from, choose ‘blank document’, then press ‘create’. Microsoft Word has the ability to create such a wide variety of documents that you would be there for hours if you wanted to explore them all. Spend a little time looking through some of the different templates available, or simply use the ‘search’ tool at the top of the page.
The ribbon
Once you have opened your workbook, you will see a range of different tools and functions across the top of the page – this section of the page is known as a ‘ribbon’. Under the ‘Home’ tab you will find functions for basic formatting such as changing the size and font of the text, highlighting text, adding bullet points, as well as lots of other functions. There are other tabs, such as ‘Page Layout’, ‘Review’, ‘Insert’, etc. but the main one you will need when using Word is the ‘Home’ tab.
If you want to change the formatting of any of your text, simply use the cursor on your mouse to highlight the text you want to change, and then use the tabs across the ribbon to make the necessary changes.
Adding a hyperlink
If you mention a particular website in your text, you can include a link to it which will then open up once clicked – this is known as a hyperlink. To add a hyperlink, select the piece of text you want to link, then right click using mouse and choose ‘hyperlink’. You will then be asked to enter the name of the address you want to link to. Once you’ve added your link, you can always go back and edit or delete it later on by right clicking the link you have added.
Run a spell check
Once you have finished working on your Word document, you will most likely want to run a spell check across your work to make sure there are no spelling or grammatical errors. To run a spell check on Microsoft Word, go to the tabs across the top of the page and choose ‘Review’. You can then find the spell check function in the ribbon to the left. If there are any errors, it will give you a suggestion for how it believes the word should be spelt, and you can then choose to accept the amendment, or ignore it.
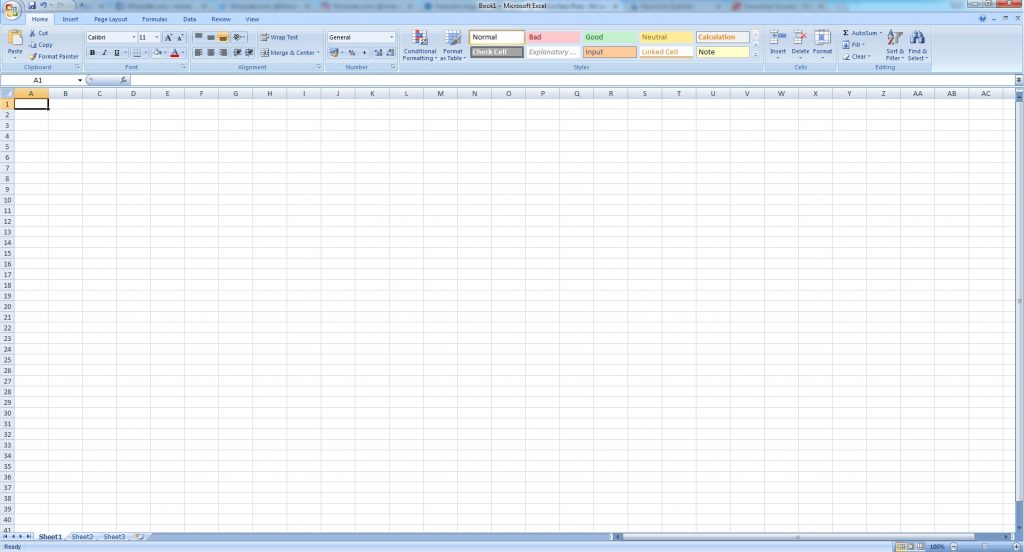
Microsoft Office Excel
Microsoft Excel is the ideal programme for creating spreadsheets. Whether it’s to record your monthly budget, sort through facts and figures or store data – Microsoft Excel is the ideal programme for it.
Getting started
Excel opens in the same way as Word – after opening the programme you will be given a whole range of different templates to choose from, or you can simply click ‘blank workbook’ to create a plan excel sheet. Another similarity with Word and Excel is the ribbon which runs across the top of the page. The ribbon for Excel performs a lot of the same functions as Word, though there are a few extras too.
Cells, columns and rows
When you first open an excel spreadsheet, you will notice the page is made up of thousands of small rectangles – these are known as cells. You will also notice the bar across the top labelled ‘A, B, C’ and so on – this is known as a column. Columns are cells which run from the top to the bottom of the page, and are marked A-Z, then AA-ZZ, then AAA-XFD. Down the left side of the page you may have noticed yet another bar number ‘1, 2, 3’ and so on. These are known as rows. Like columns, rows are made up of cells – except rows go from left to right as opposed to top to bottom. Rows are numbered from one, right up to 1,048,576.
Start working
To begin writing in a cell, simply double click where you want the text to appear then begin writing. If you decide you want to clear a set of cells instead, you can do so using the ‘Home’ tab. Simply highlight the cells you want to clear, then go to ‘clear’ which appears to the far right of the ribbon under the ‘Home’ tab. You can then select ‘clear contents’ to clear the cells you have selected. You can also delete cells entirely by choosing the ‘Delete’ function which appears to the far right of the banner too.
Spell check
While Excel is predominantly used for numbers, you can use it to write text in too. If you have written some text in your Excel spreadsheet, you may want to run a spell check. This is done in much the same way as a Word document – simply go to the ‘Review’ tab, then choose the spelling function.
Formulas
One of the main functions used on excel, is creating formulas. This makes it easier to carry out calculations without the need for a calculator. This is particularly effective if you have a lot of data to work with, as it will carry out the calculations much quicker and easier.
To write a formula, simply click in the cell where you want the text to appear, and then start writing. To write any formula in Excel, you will need to start the equation with a ‘=’ sign for it to do the calculations, and use either plus (+), minus (-), divide (/) or multiply (*) in between. You can use excel to calculate more simple equations like ‘=10+26’, ‘=3*45’ or ‘=5*8*4’ for example, or you can calculate longer more complicated equations using excel functions.
If you want to add certain cells together you can write ‘=’, then highlight the cells you want to add together. You can also write ‘=’ followed by a command to carry out a number of other functions when you highlight a group of cells. A few commands you can do are:
- Sum – adds up the value of all the highlighted cells
- Average – determines the average of all the chosen cells by adding up the values and dividing by the total number of cells
- Count – counts the total number of cells in the selection
- Max – determines the highest cell value in the selection
- Min – determines the lowest cell value in the selection
While we have covered a few things Microsoft Excel is capable of, there is plenty more you can do with this programme. Compared to how much you can really do with Excel, we’ve only touched on the basics. There are lots of great tutorials and websites available which go into more detail about the other things you can do using Excel, so it is certainly worth taking a look.
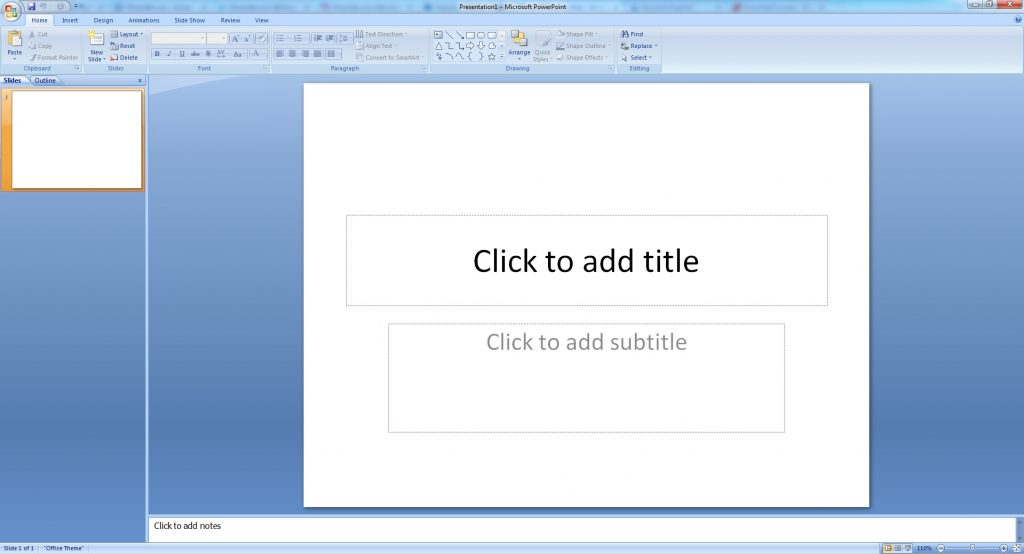
Microsoft Office PowerPoint
Whether you need to create a presentation for work, school, or even your best friend’s engagement party – you can easily create one using Microsoft PowerPoint.
Getting started
Once again, PowerPoint opens up just like Word and Excel. There are also a number of templates for you to choose from, or you can simply choose ‘blank presentation’ to start from scratch. Also, much like Excel and Word, you will have a ribbon across the top of the page to work from and change the formatting of your presentation.
New slides
When you open up a PowerPoint presentation, you will automatically have one slide to begin working from. If you want to add another slide to your presentation, simply go to the ‘Home’ tab and click the ‘new slide’ function. If you wanted to delete a slide, you can do so from the same tab.
Adding extras
When making a presentation, you may want to add a few text boxes here and there. To add a text box, simply go to the ‘Insert’ tab at the top of the ribbon, then choose ‘insert text box’. Draw the box as wide as you want it and begin typing – the text box will stretch from top to bottom as you begin typing.
You can also add images to your presentation in a very similar way. Simply go to the ‘Insert’ tab, then choose the ‘picture’ function. It will then ask you to locate an image from your documents. Once you’ve found your image, select it and press ‘open’. Once you’ve inserted your image you can resize it by clicking on the corners of the image and dragging it to the size you want.
Spell check
Once you have created your presentation you can run a spell check on your work to make sure there are no spelling or grammatical errors in your work. Just as you would on Word and Excel, you can run a spell check by going to the ‘review’ tab then choosing the ‘spelling’ function. Again, if there are any spelling mistakes or grammatical errors the spell check function will provide you with a list of suggestions which you can choose to replace the current text with, or you can ignore them entirely.
*Note: All screenshots are taken from Microsoft Office 2007. While your version of Microsoft Office may look slightly different, the basic functions are often still the same. If you’re ever unsure of how to do something in a Microsoft Office programme, use the help key in the top right corner to get more information.